Ultra Thin Crust Pizza Dough
Pizza is such a versatile dish. Whether your a purist who likes olive oil and fresh herbs slapped on a dough or a Chicago deep dish aficionado, there's a pizza for you! Personally, I generally lean toward thin crust pizza's layered with lots of tasty things on top. A side benefit of a thin crust is it is healthier. White flour is a very high glycemic index carbohydrate. Whole wheat flour is better, but I still have yet to make a good whole wheat crust. I have tried a number of thin crust dough recipes and generally found them to be lacking. So I started experimenting. This recipe is the product of those experiments. It makes the thinnest crust I have found anywhere. Be warned, it does take some planning and effort. Some hand kneading is required and it MUST be made the night before cooking to turn out properly.
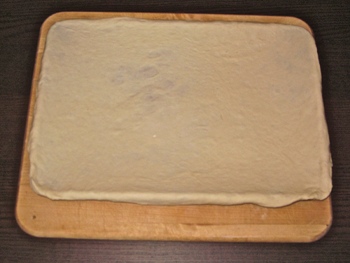
This recipe will make 4 doughs that each fit into a 9x13 inch rectangular cookie sheet. That's about the same size as a 12 inch round. The dough will be about 1/8 of an inch thick. At this thickness, the dough is so light compared to the toppings on it that I have never managed to transfer it from a pizza peel to a baking stone. This could be my lack of experience / equipment. Hence the cookie sheet. I usually keep one out to make the next day and freeze the other three for later use. I have a fairly generic toppings recipe on the main recipe page. Since the crust is so thin, I usually put a layer of very thin potatoes over its entirety to give it a bit of body.
Ingredients (4 doughs):
- 5 cup all purpose flour (bread flour is fine as well)
- 3 tsp kosher salt (or 2 tsp table salt)
- 1 tsp INSTANT yeast
- 2 Tbsp Oil
- 1 Tbsp honey
- 1.75 cup + 1 Tbsp water
This ingredients list came from a friend of mine Steve. I don't know where he found it.
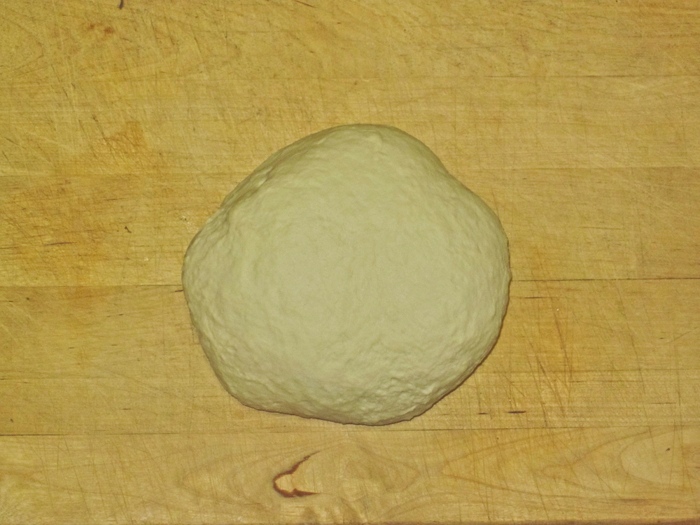
1) Add the wet ingredients to a stand mixer or large mixing bowl, followed by the flour, then the salt and yeast. There is no need to proof instant yeast. Mix until all ingredients are incorporated and a loose dough ball forms.
2) Knead dough. This can be partially done in a stand mixer, but I suggest at least 10 minutes of hand kneading as well. I find that doughs made entirely in a stand mixer have different plasticity than those that are partially or fully hand kneaded and do not stretch as well. This can take anywhere from 20-30 minutes depending on a number of factors. The easiest way to determine when to stop kneading is to apply the bakers windowpane test.
(After Kneading)
3) Place dough in large oiled bowl. Cover loosely with a damp (clean) dish towel. Place bowl in a warm place for dough to rise, 1-2 hours. During the winter, I tend to keep my apartment on the cool side. So I usually turn the oven on for about 15 seconds to develope just a bit more heat (but not hot) and place the bowl in there. The dough should rise to maybe 1.5 times its original size. Many recipes will say the dough should double in size. I have never seen this particular dough double in size within a 2 hour period since it uses relatively little yeast in comparison to its size.
4) Remove the dough from the bowl. Add a little flour and fold it a few times to remove built up pressure from the yeast working.
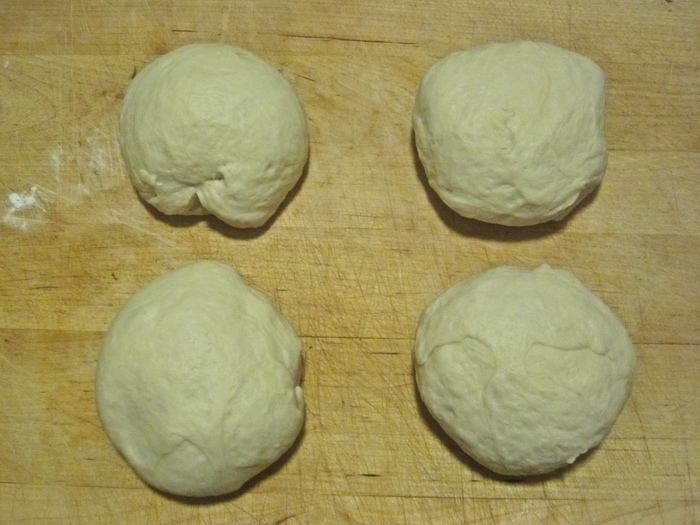
(4 equally sized doughs after kneading and one rise)
6) This is the hardest step of all, waiting. Most dough recipes call for you to now allow the dough to rise a second time. We will NOT be doing this. Instead, at this point you can do one of two things.
- Wrap an individual dough in plastic wrap and place it in the refrigerator overnight. Why do we do this? Well there are two reasons. While the dough does not rise, the yeast are still working. They still secrete a number of chemical which add flavor to the dough (think sourdough). Secondly, the gluten continues to develope even without kneading. This is ESSENTIAL for getting the dough as thin as possible. I have refrigerated doughs up to 3 days with now ill effects.
- Wrap an individual dough in plastic wrap and foil and place in the freezer for later use. If this is done, the night before cooking, place the frozen dough in the refrigerator and proceed with next step the following day. These doughs have lasted 2-3 months in the freezer and presumably could last even longer.
I usually refrigerate one for use the next day and freeze the remaining three for later use!
7) The day you plan to cook, remove the dough from the freezer about 1.5-4 hours before cooking and allow it to come to room temperature. A cold dough is stiff, hard to work, and more prone to tearing! As it comes to room temperature, it should rise a bit, and if left for long enough, will even cause the plastic wrap to burst open.
8) IMPORTANT: DO NOT FOLD OR KNEAD THE DOUGH AT ALL. Kneading and refrigeration helped produce a dough with a meshwork of crosslinked gluten fibers that give the dough its plasticity. The process of naturally bringing this dough to room temperature helps this network relax. Any folding or kneading at this point stiffens that network and makes it difficult to work with and more prone to tearing.
 |
 |
 |
 |
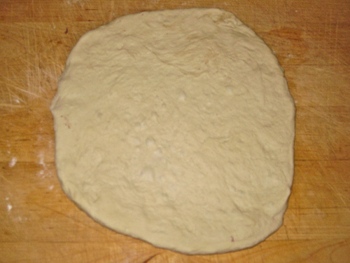
(Pulling the dough, from start to finish)
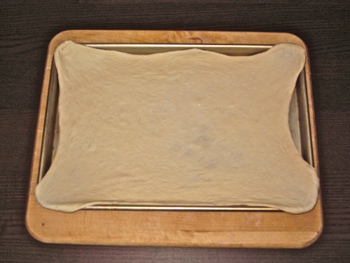
10) Release the edges of the dough from the edges of the cookie sheet so that the entire dough releases down to the base of the cookie sheet. You should now have a natural crust edge as part of the dough will run up the edge of the sheet.